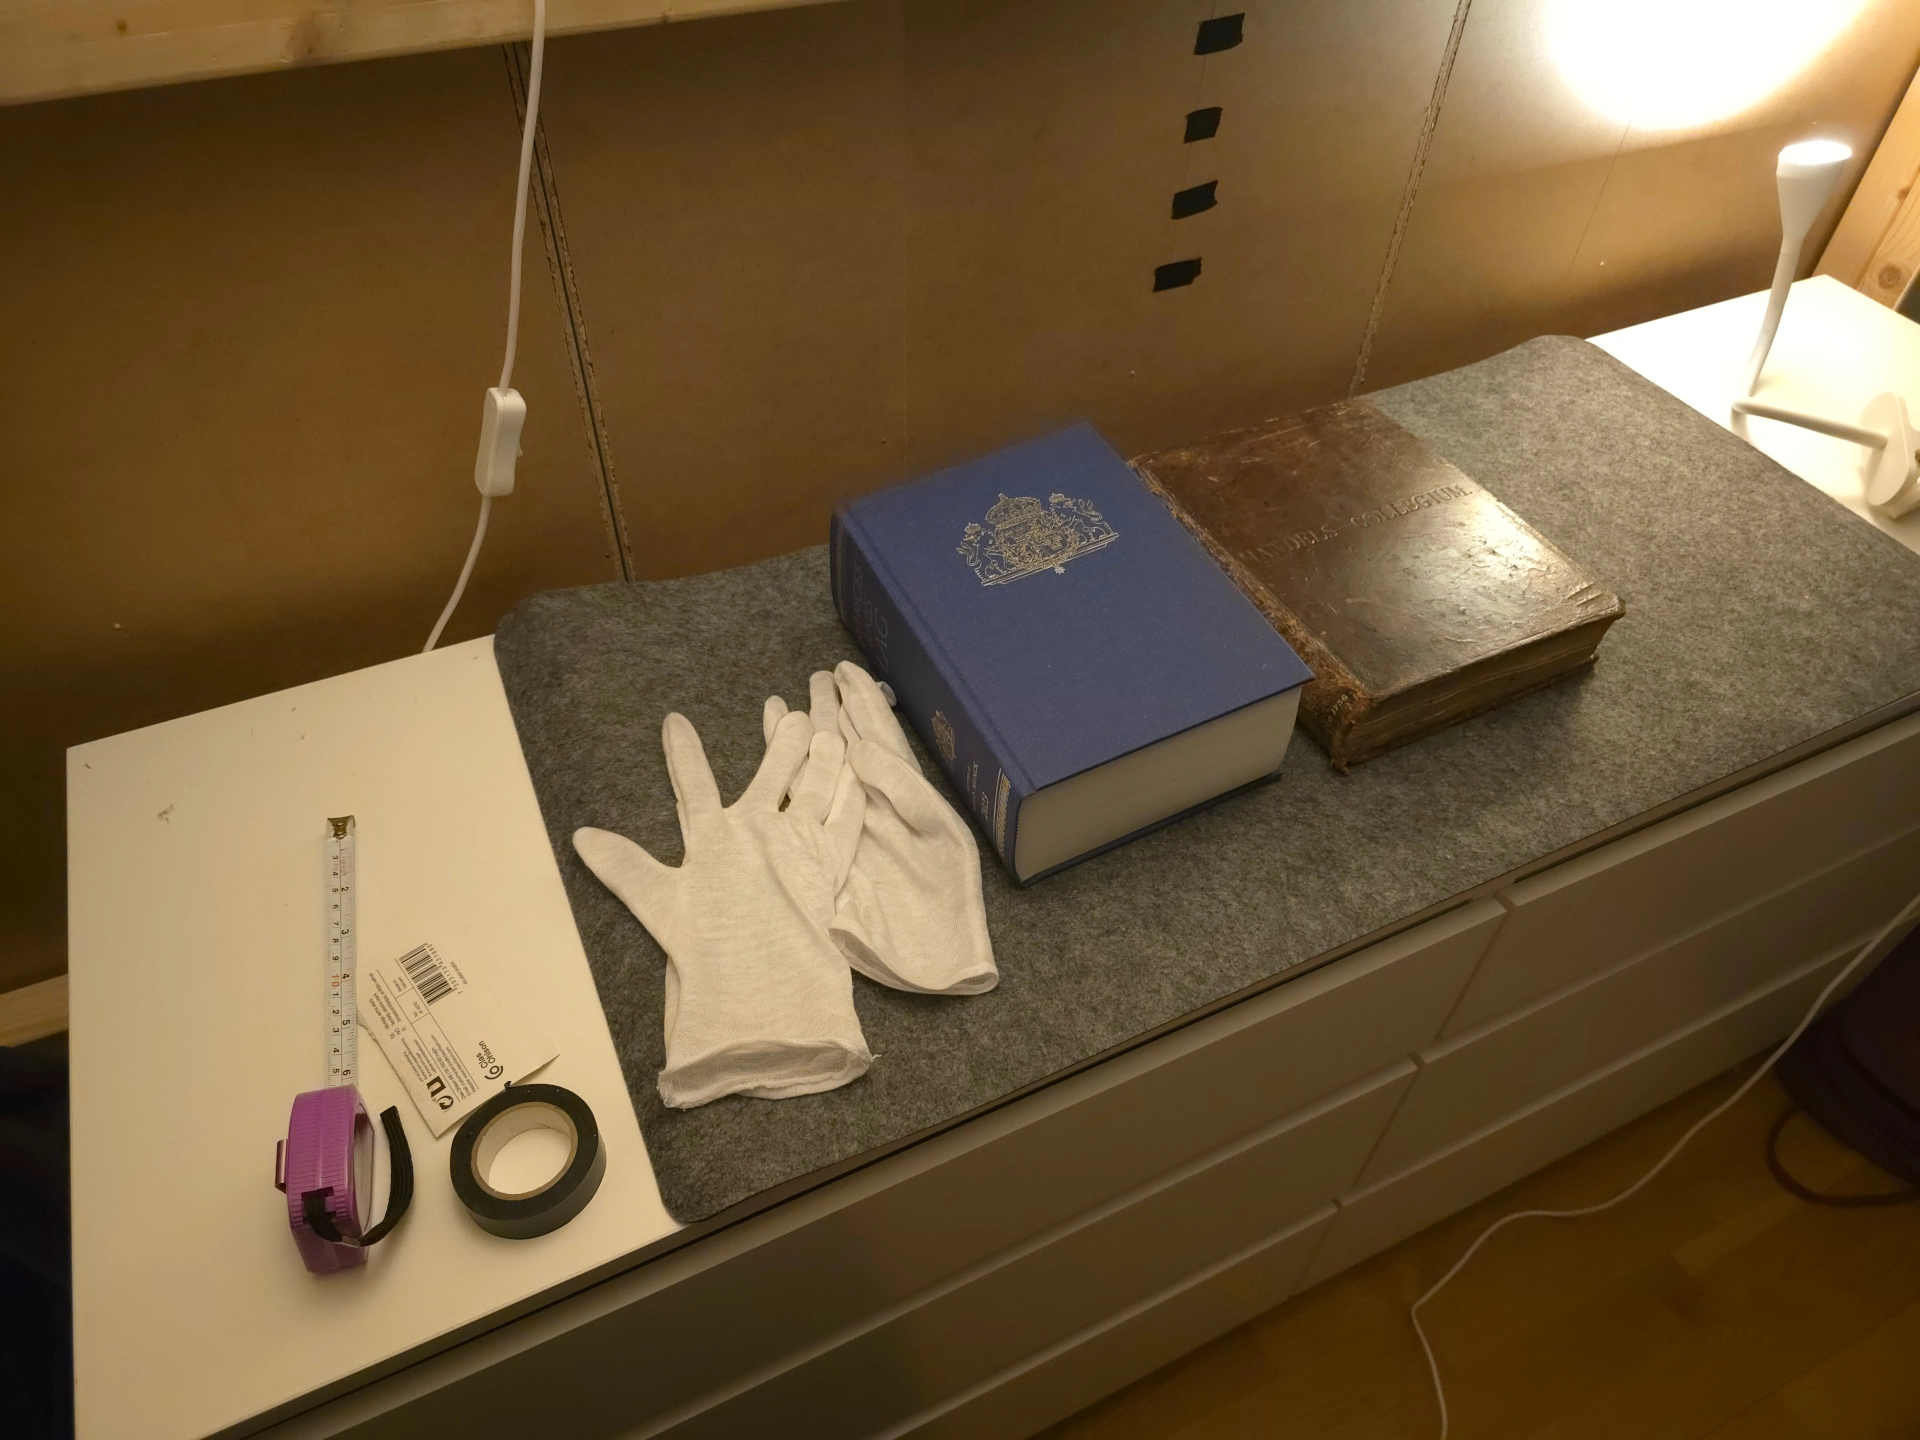
Before beginning the iterations, we first brainstormed about the digital imaging workflow (Kronlund, 2021a) and gathered the following equipment for the archival process.
Note that some materials were added between iterations. These items are the subsequent items after [nbr of the iteration] onwards until the next iteration.
| Cameras | iPhone Pro 11 / Samsung Galaxy S24 Ultra |
| Lighting | Two 1.9W LED lights from the IKEA Nävlige series |
| Gloves | White cotton gloves — always worn when handling the document |
| Background | Exibel mouse mat (neutral gray) — 2nd iteration onwards |
| Tape | Electrical tape & extra strong duct tape |
| Tape measure | Hard Head purple 3m roll measurer |
| Paper | 1 A2 sheet from Panduro, cut in half to reflect even light — 3rd iteration onwards |
| Light stand | Kitchen chair with lamps clipped onto the back |
| Miscellaneous | Stainless steel scissors / spirit level |
| Software | GIMP 2.10 (Windows) for image processing |
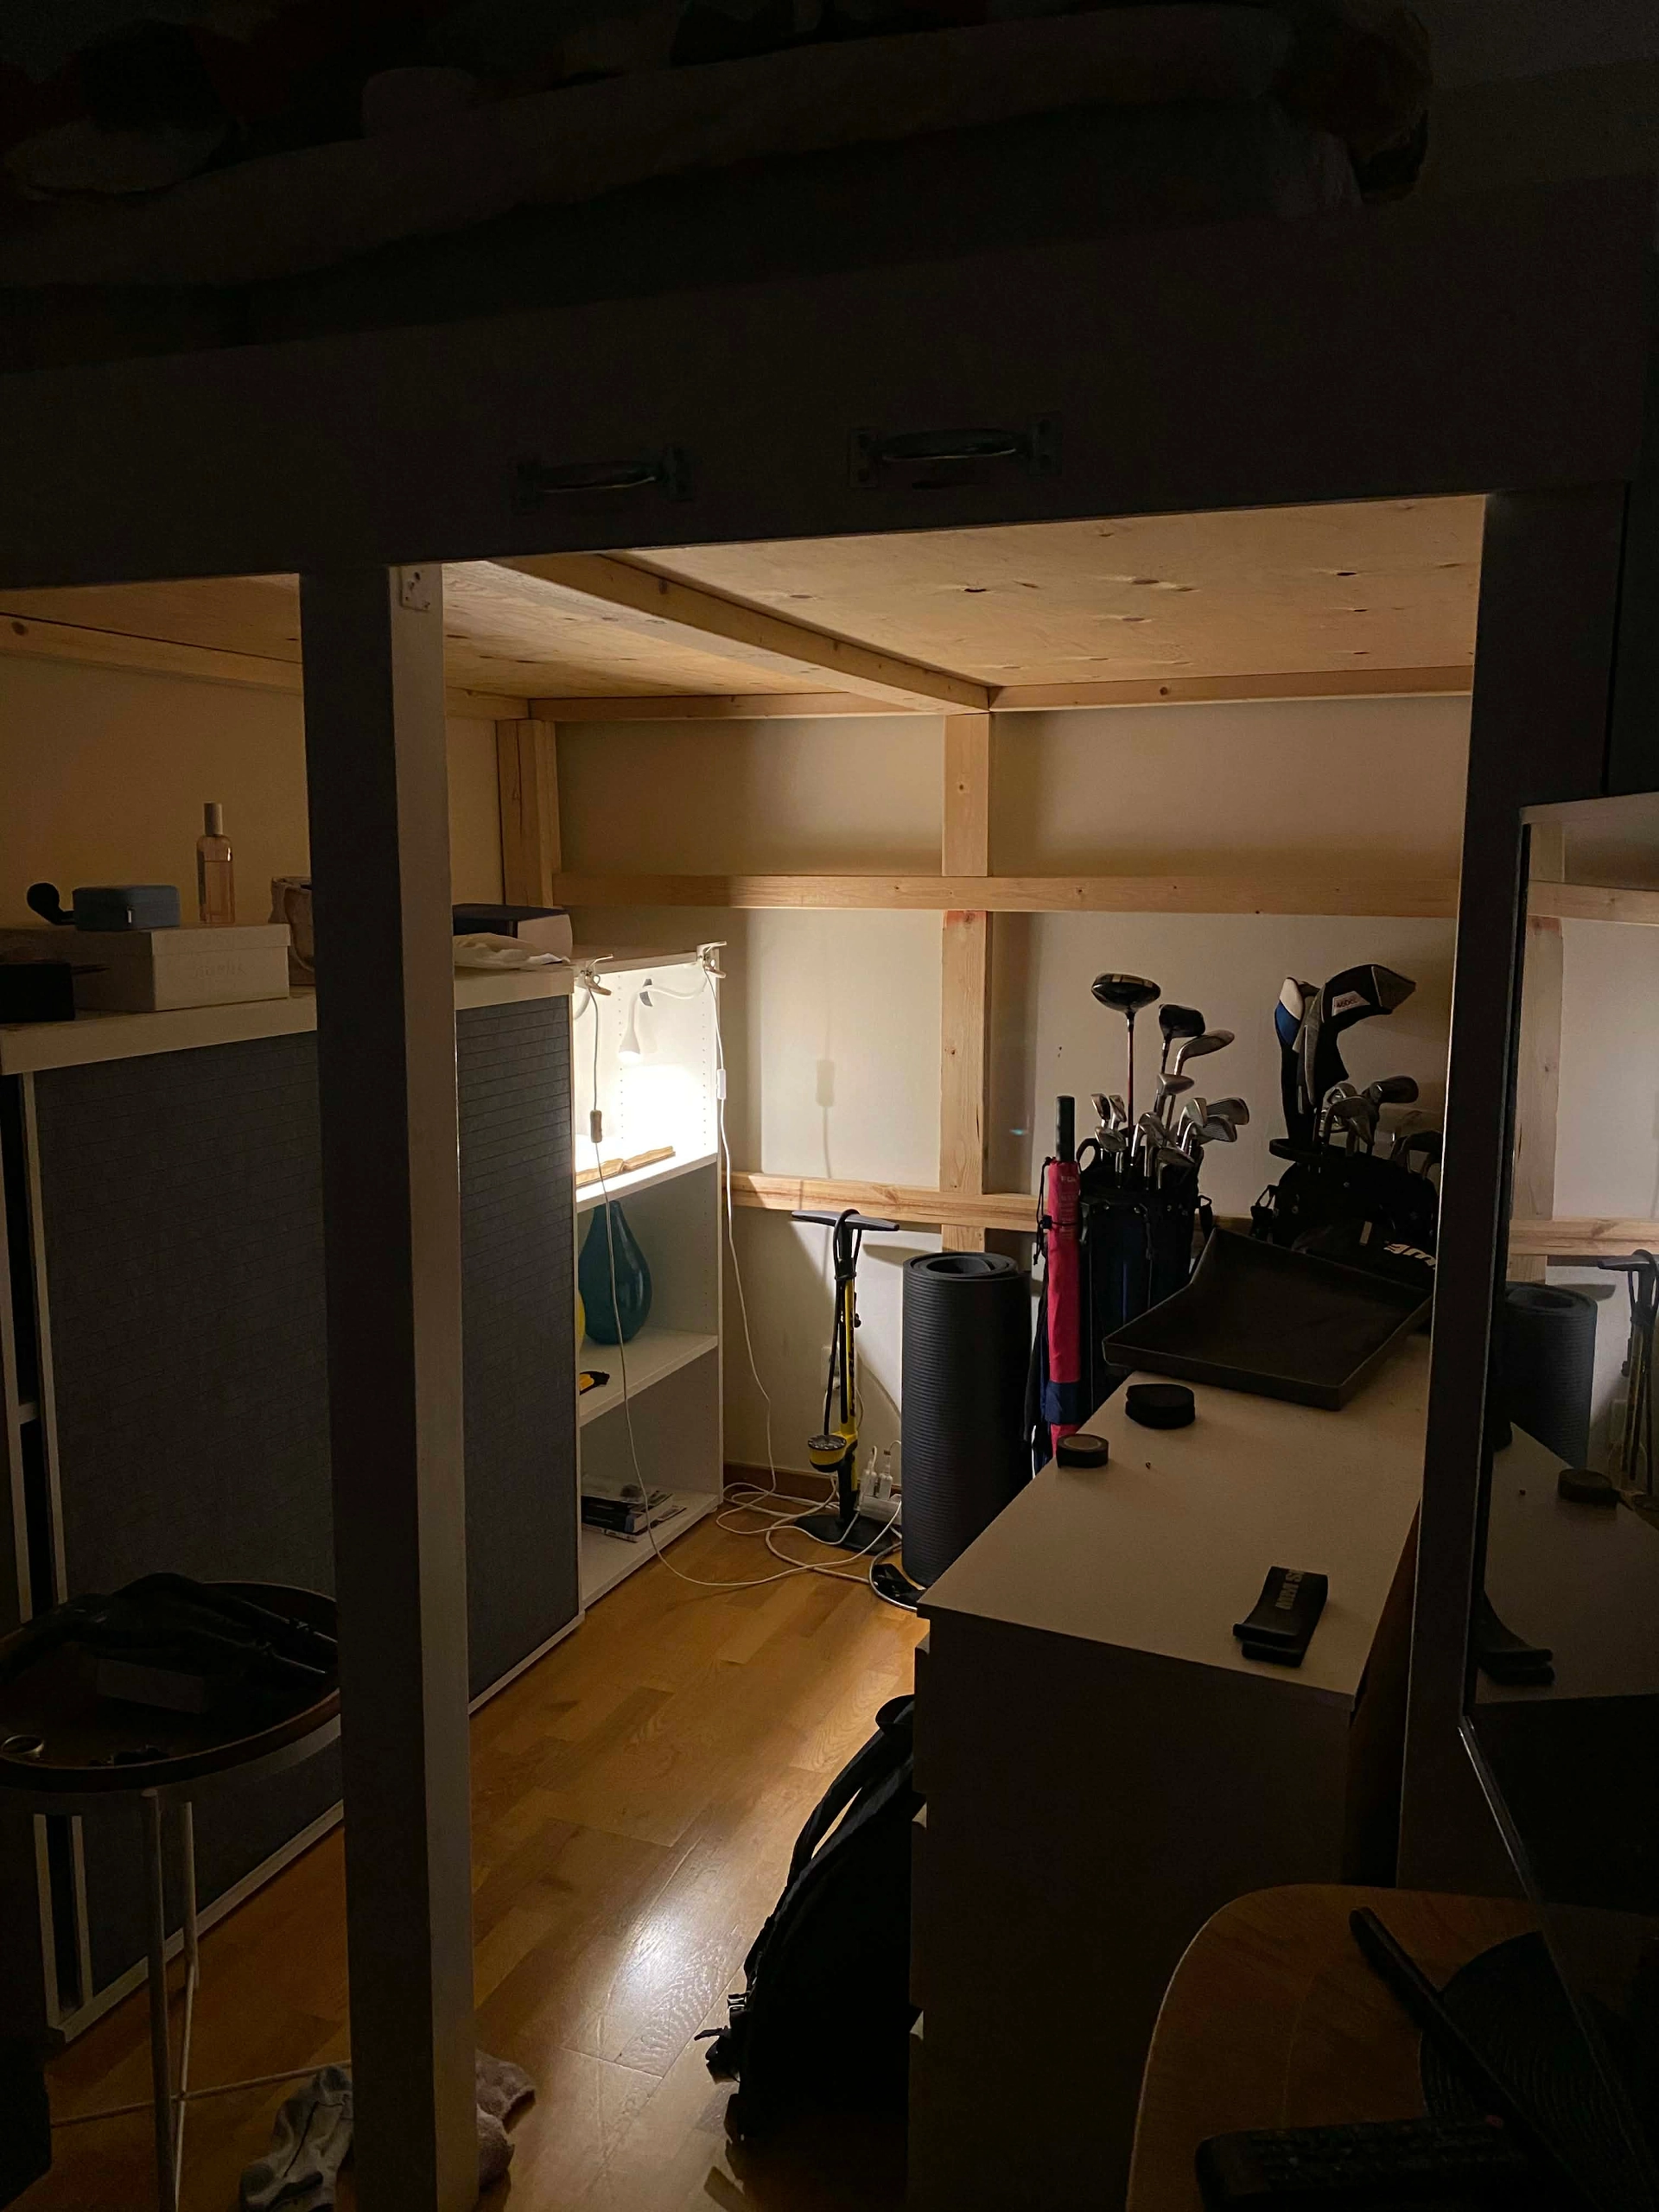
Click image to view GIMP metadata.
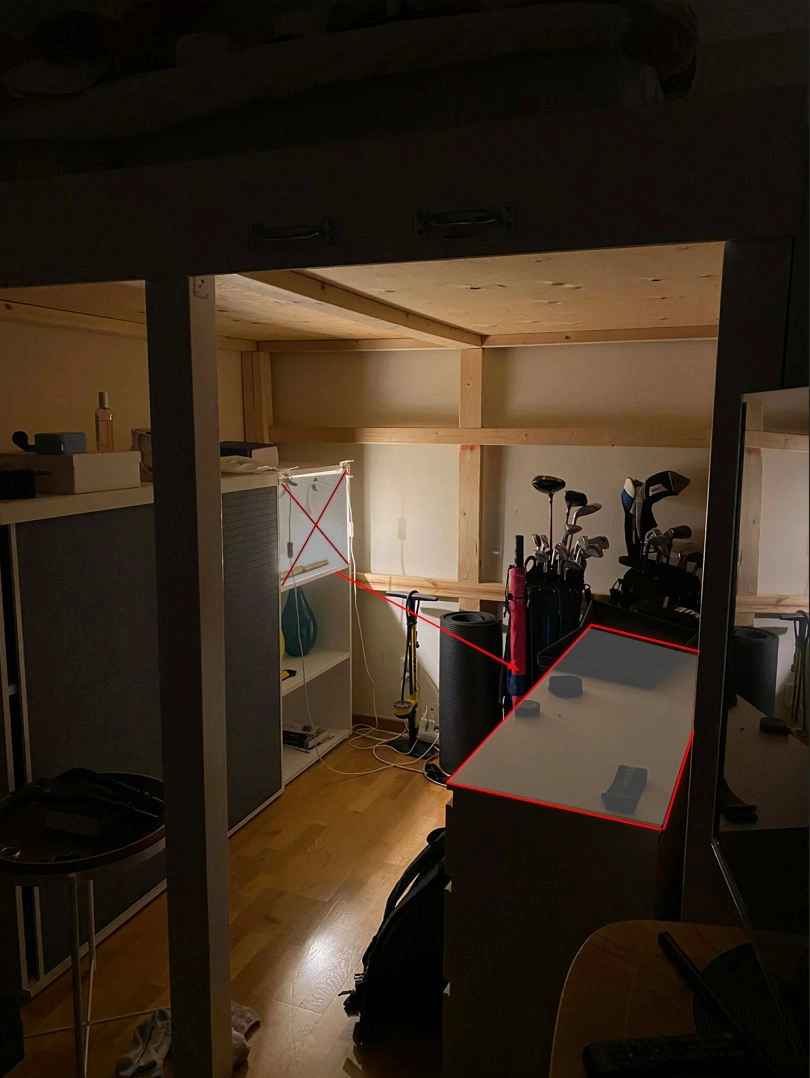
Fig. — Night-time digitisation workspace, 2026
All pictures were taken at night to limit light pollution from other sources. This meant that once we realised we would be unable to continue a photography session due to missing materials, we had to wait for the sun to set again. As a result, the images were taken between 29/04 and 04/05 2026. By extensively documenting these environmental constraints and the physical setup, we are actively recording the paradata necessary for academically evaluating the final digital artefact (Huvila et al., 2022).
Initial Setup & Testing
- Size of workarea
- Width: 56.5 cm
- Depth: 38 cm
- Height: 40.5 cm
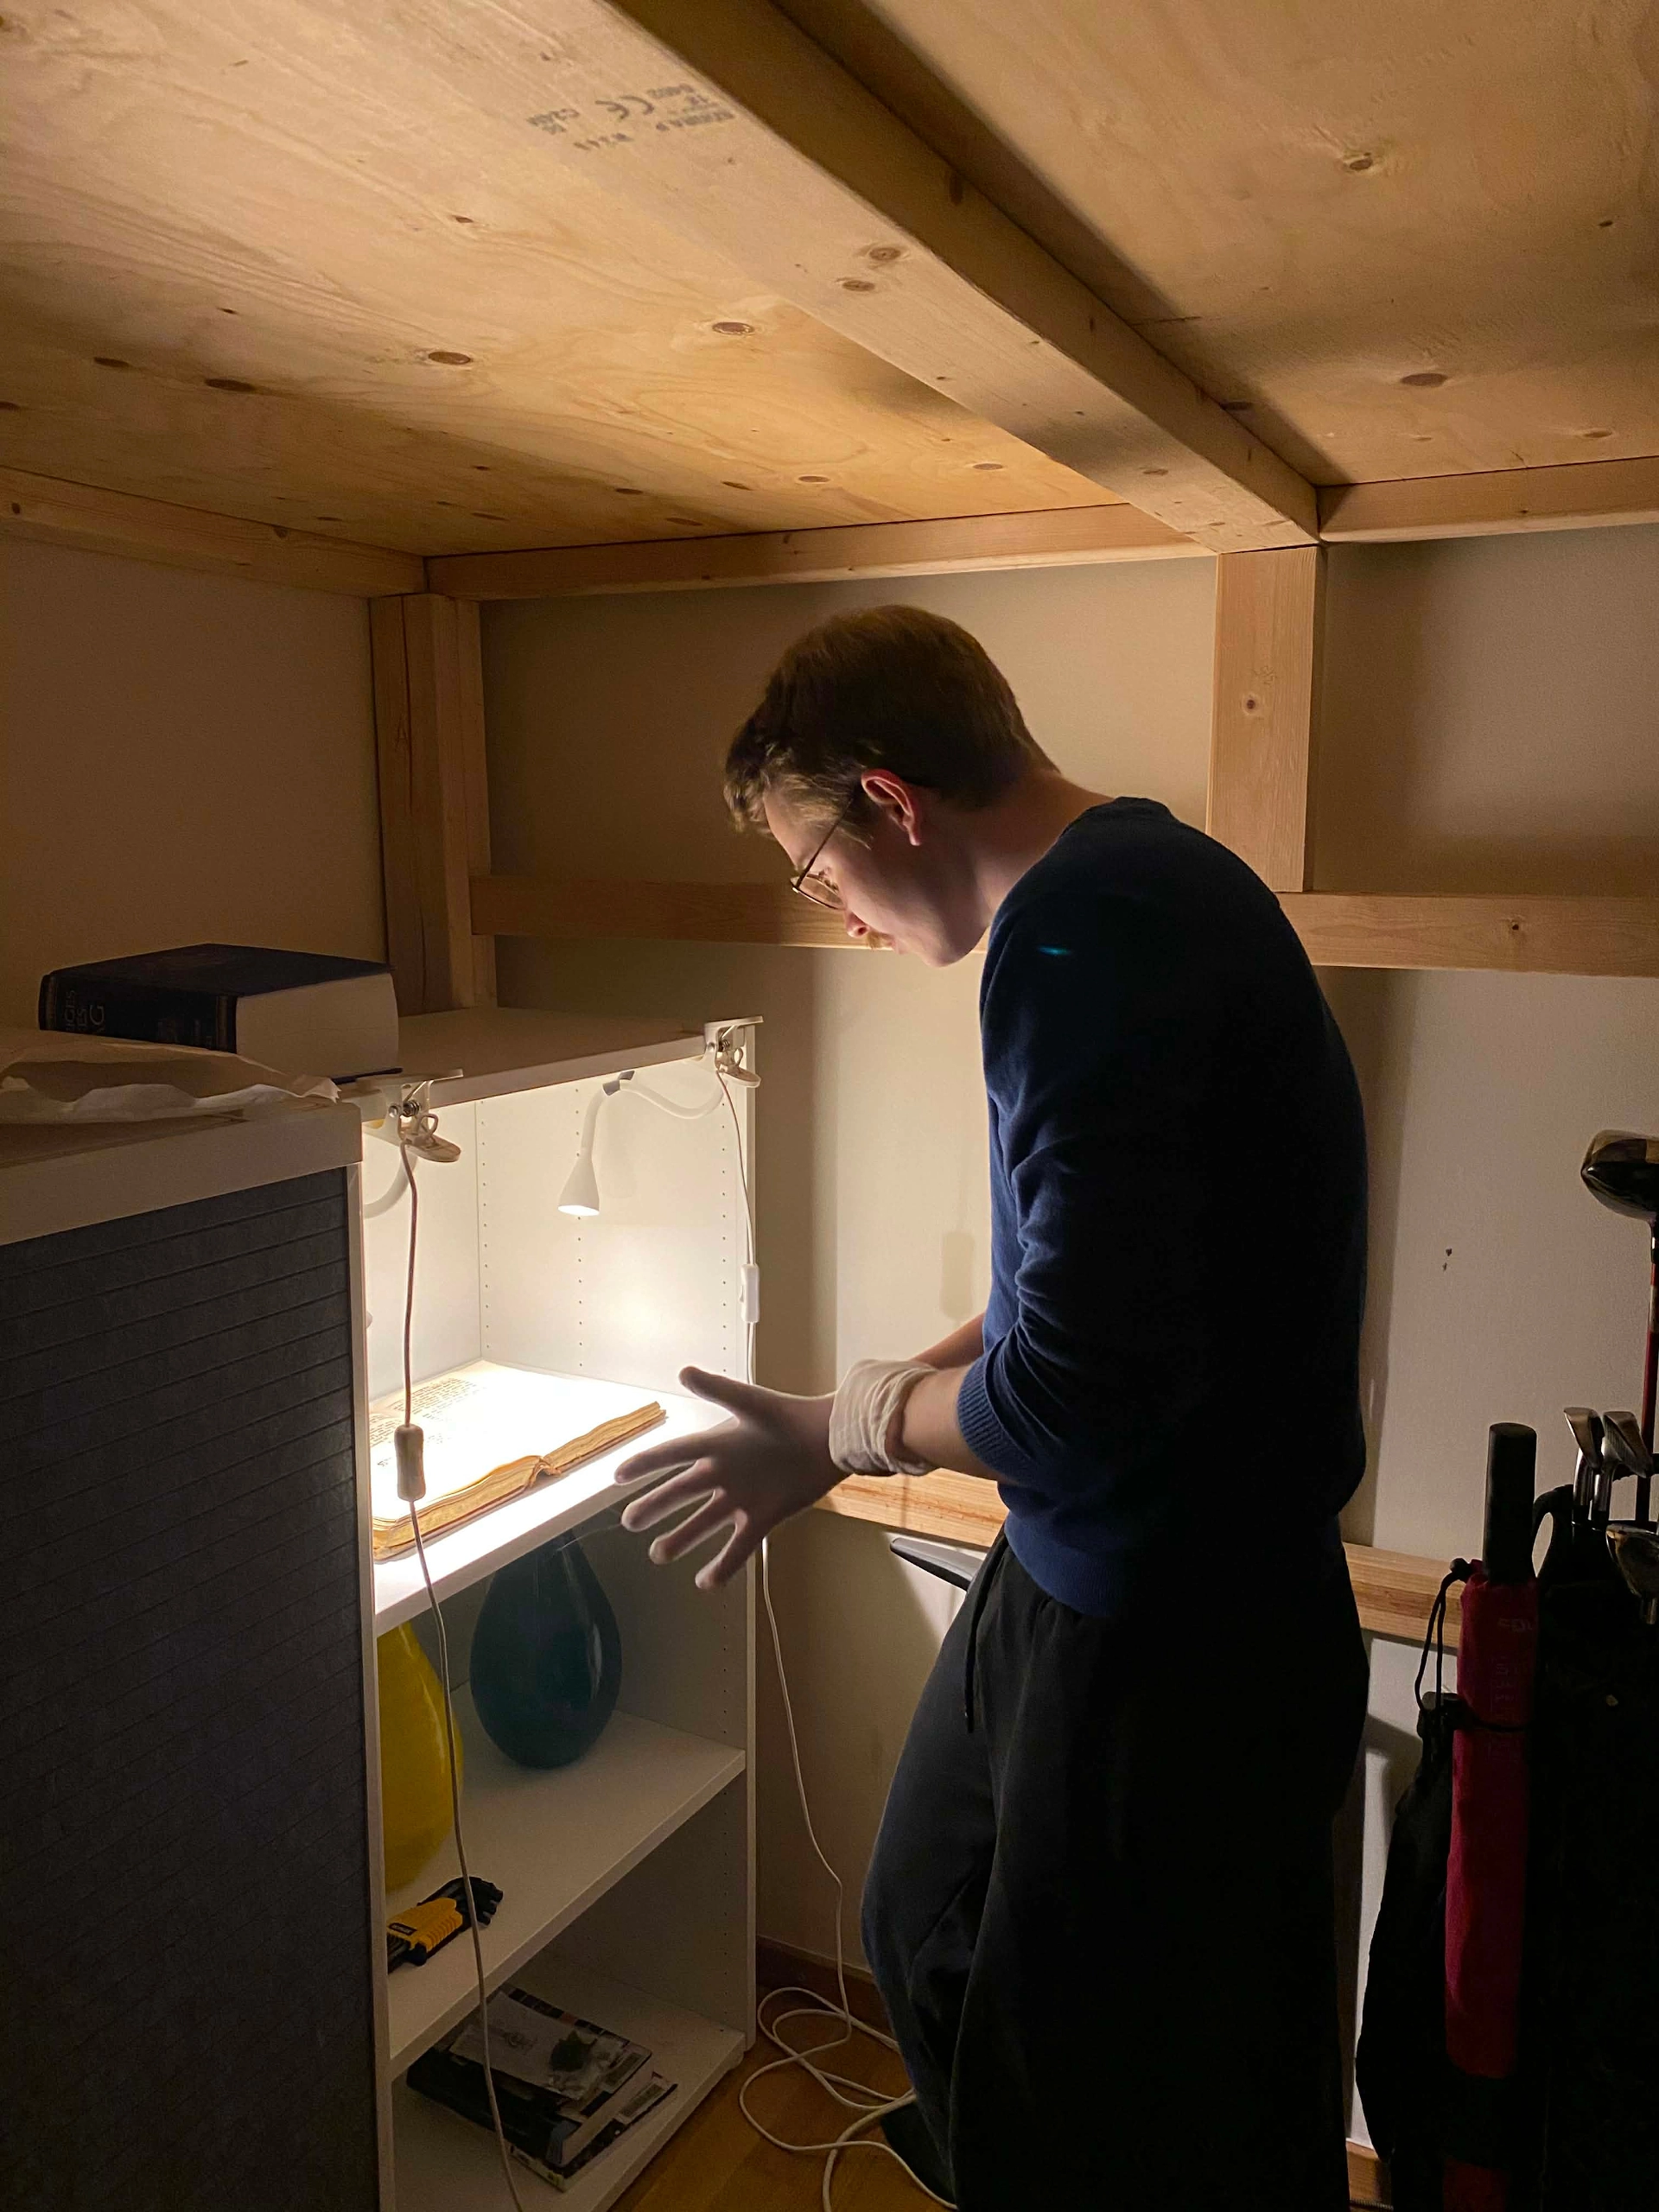
Click image for XML metadata
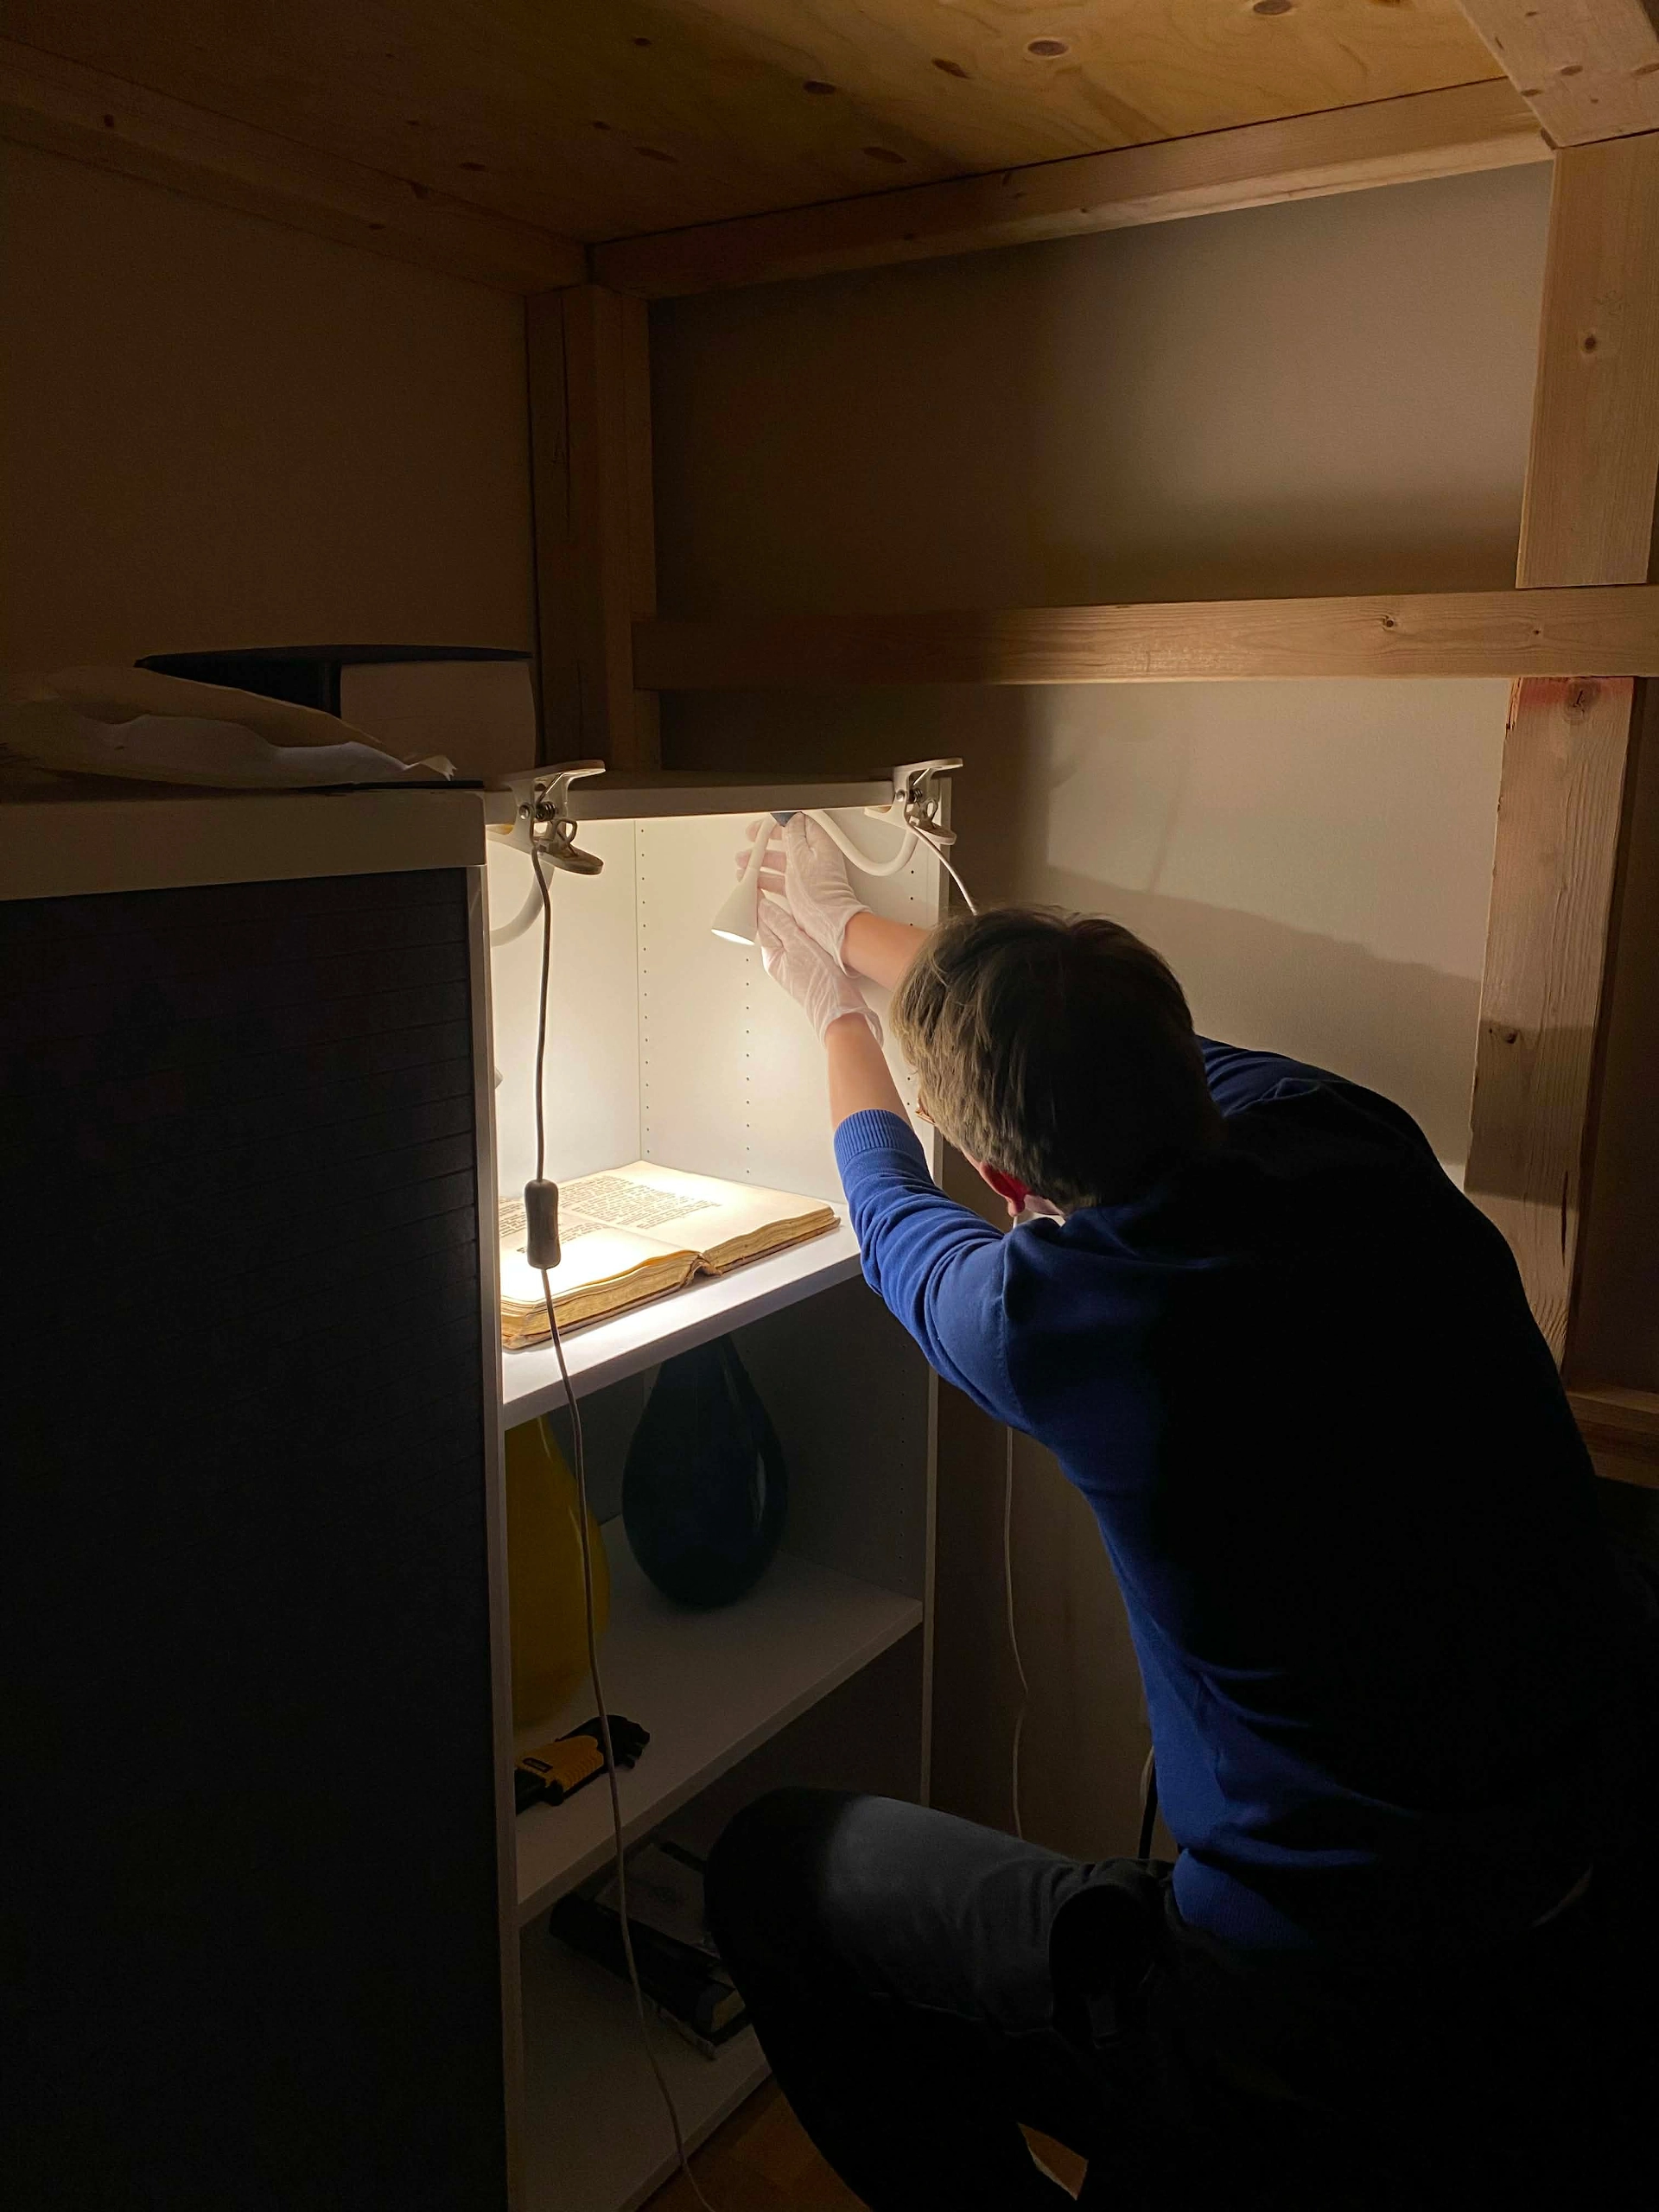
Click image for XML metadata
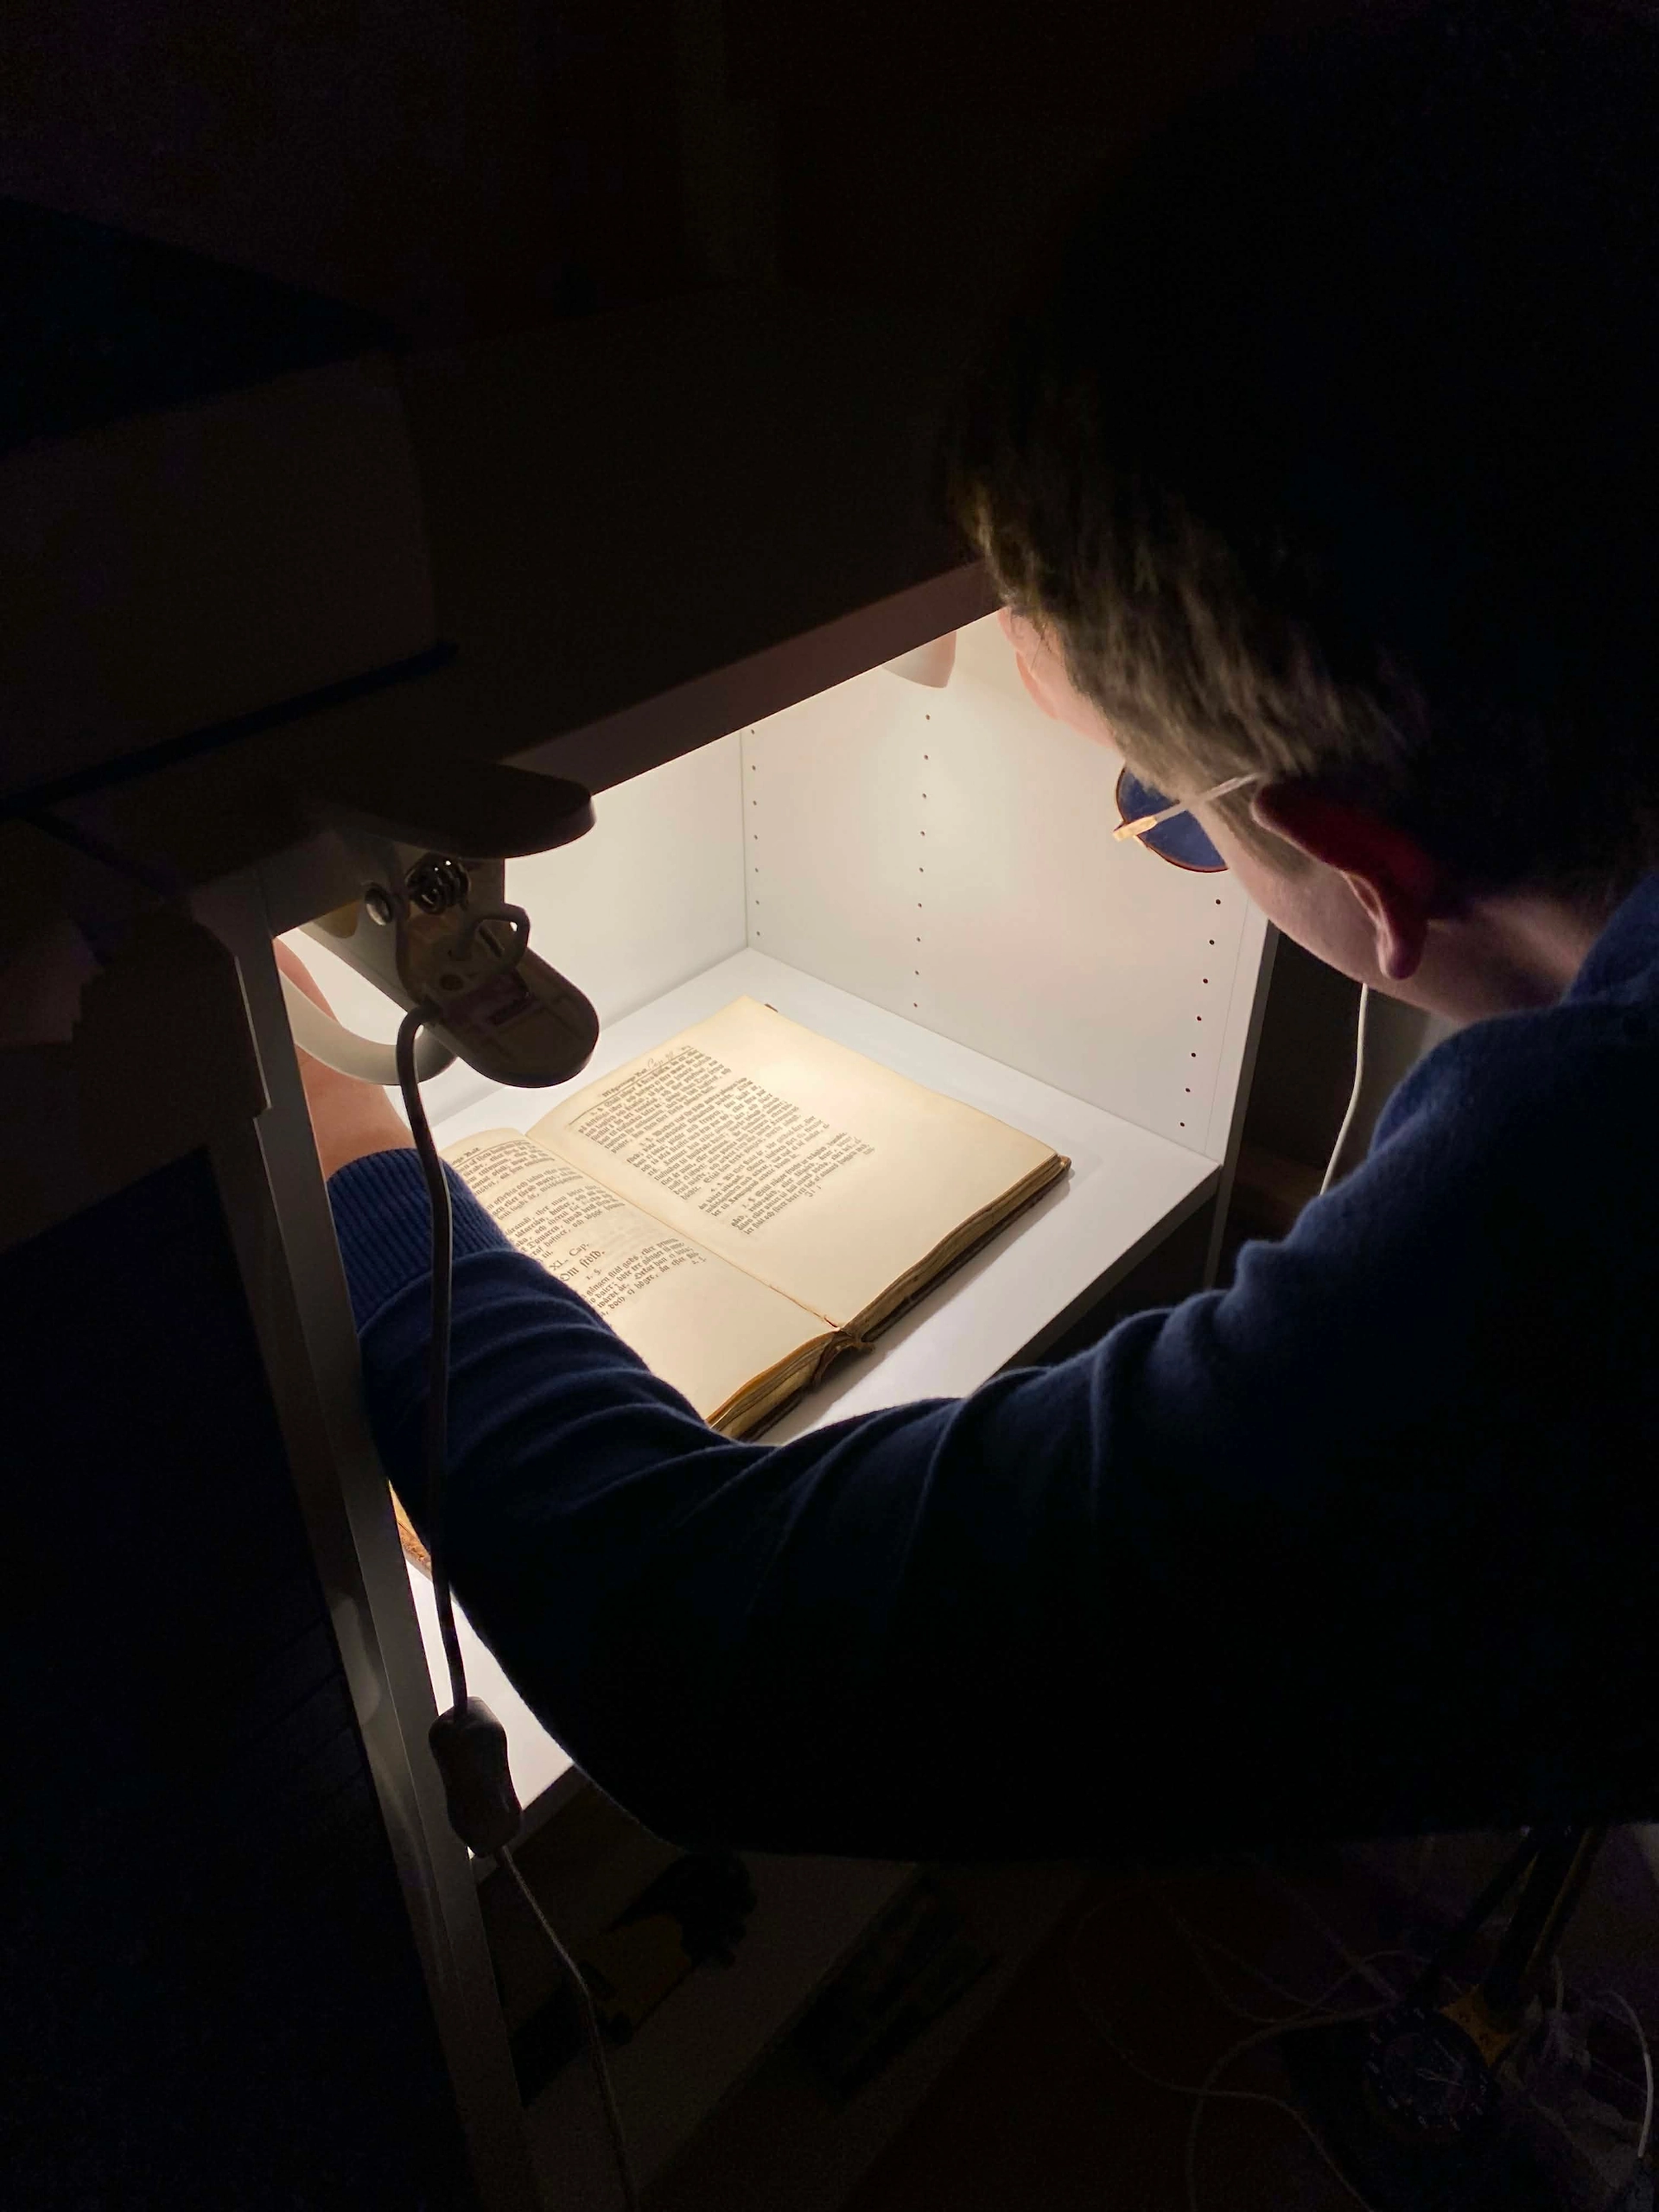
Click image for XML metadata
Adjusting the Environment
- Size of workarea
- Width: 90 cm
- Depth: 40 cm
- Height: 102 cm
Moving from the cupboard to the top of the dresser freed up the vertical space and made positioning the camera significantly easier. As Andrea Davis Kronlund (2021b) describes in her lecture, a neutral gray background is usually recommended as it tends not to influence exposure and preceived contrast. Since we were limited both with our camera and lighting setup we opted for a neutral gray background to give our smartphone sensors the best possible chance of capturing the physical characteristics of the document without introducing unwanted color shifts or glare. Unfortunatley there were no netural gray A2 papers at Panduro so we had to problem solve and find the next best thing. Luckily we found a mouse mat at Clas Ohlson that had the right color and dimensions needed. As for limiting the glare the setup worked good for the pages but as shown in the picture on the right hand side, the leather cover of the artefact was quite reflective and so we had to figure out a way to disperse the light onto the artefact without causing unwanted shadows either from the smartphone or the person taking the picture.
Click image for XML metadata
Click image for XML metadata
Click image for XML metadata
Post-Processing Example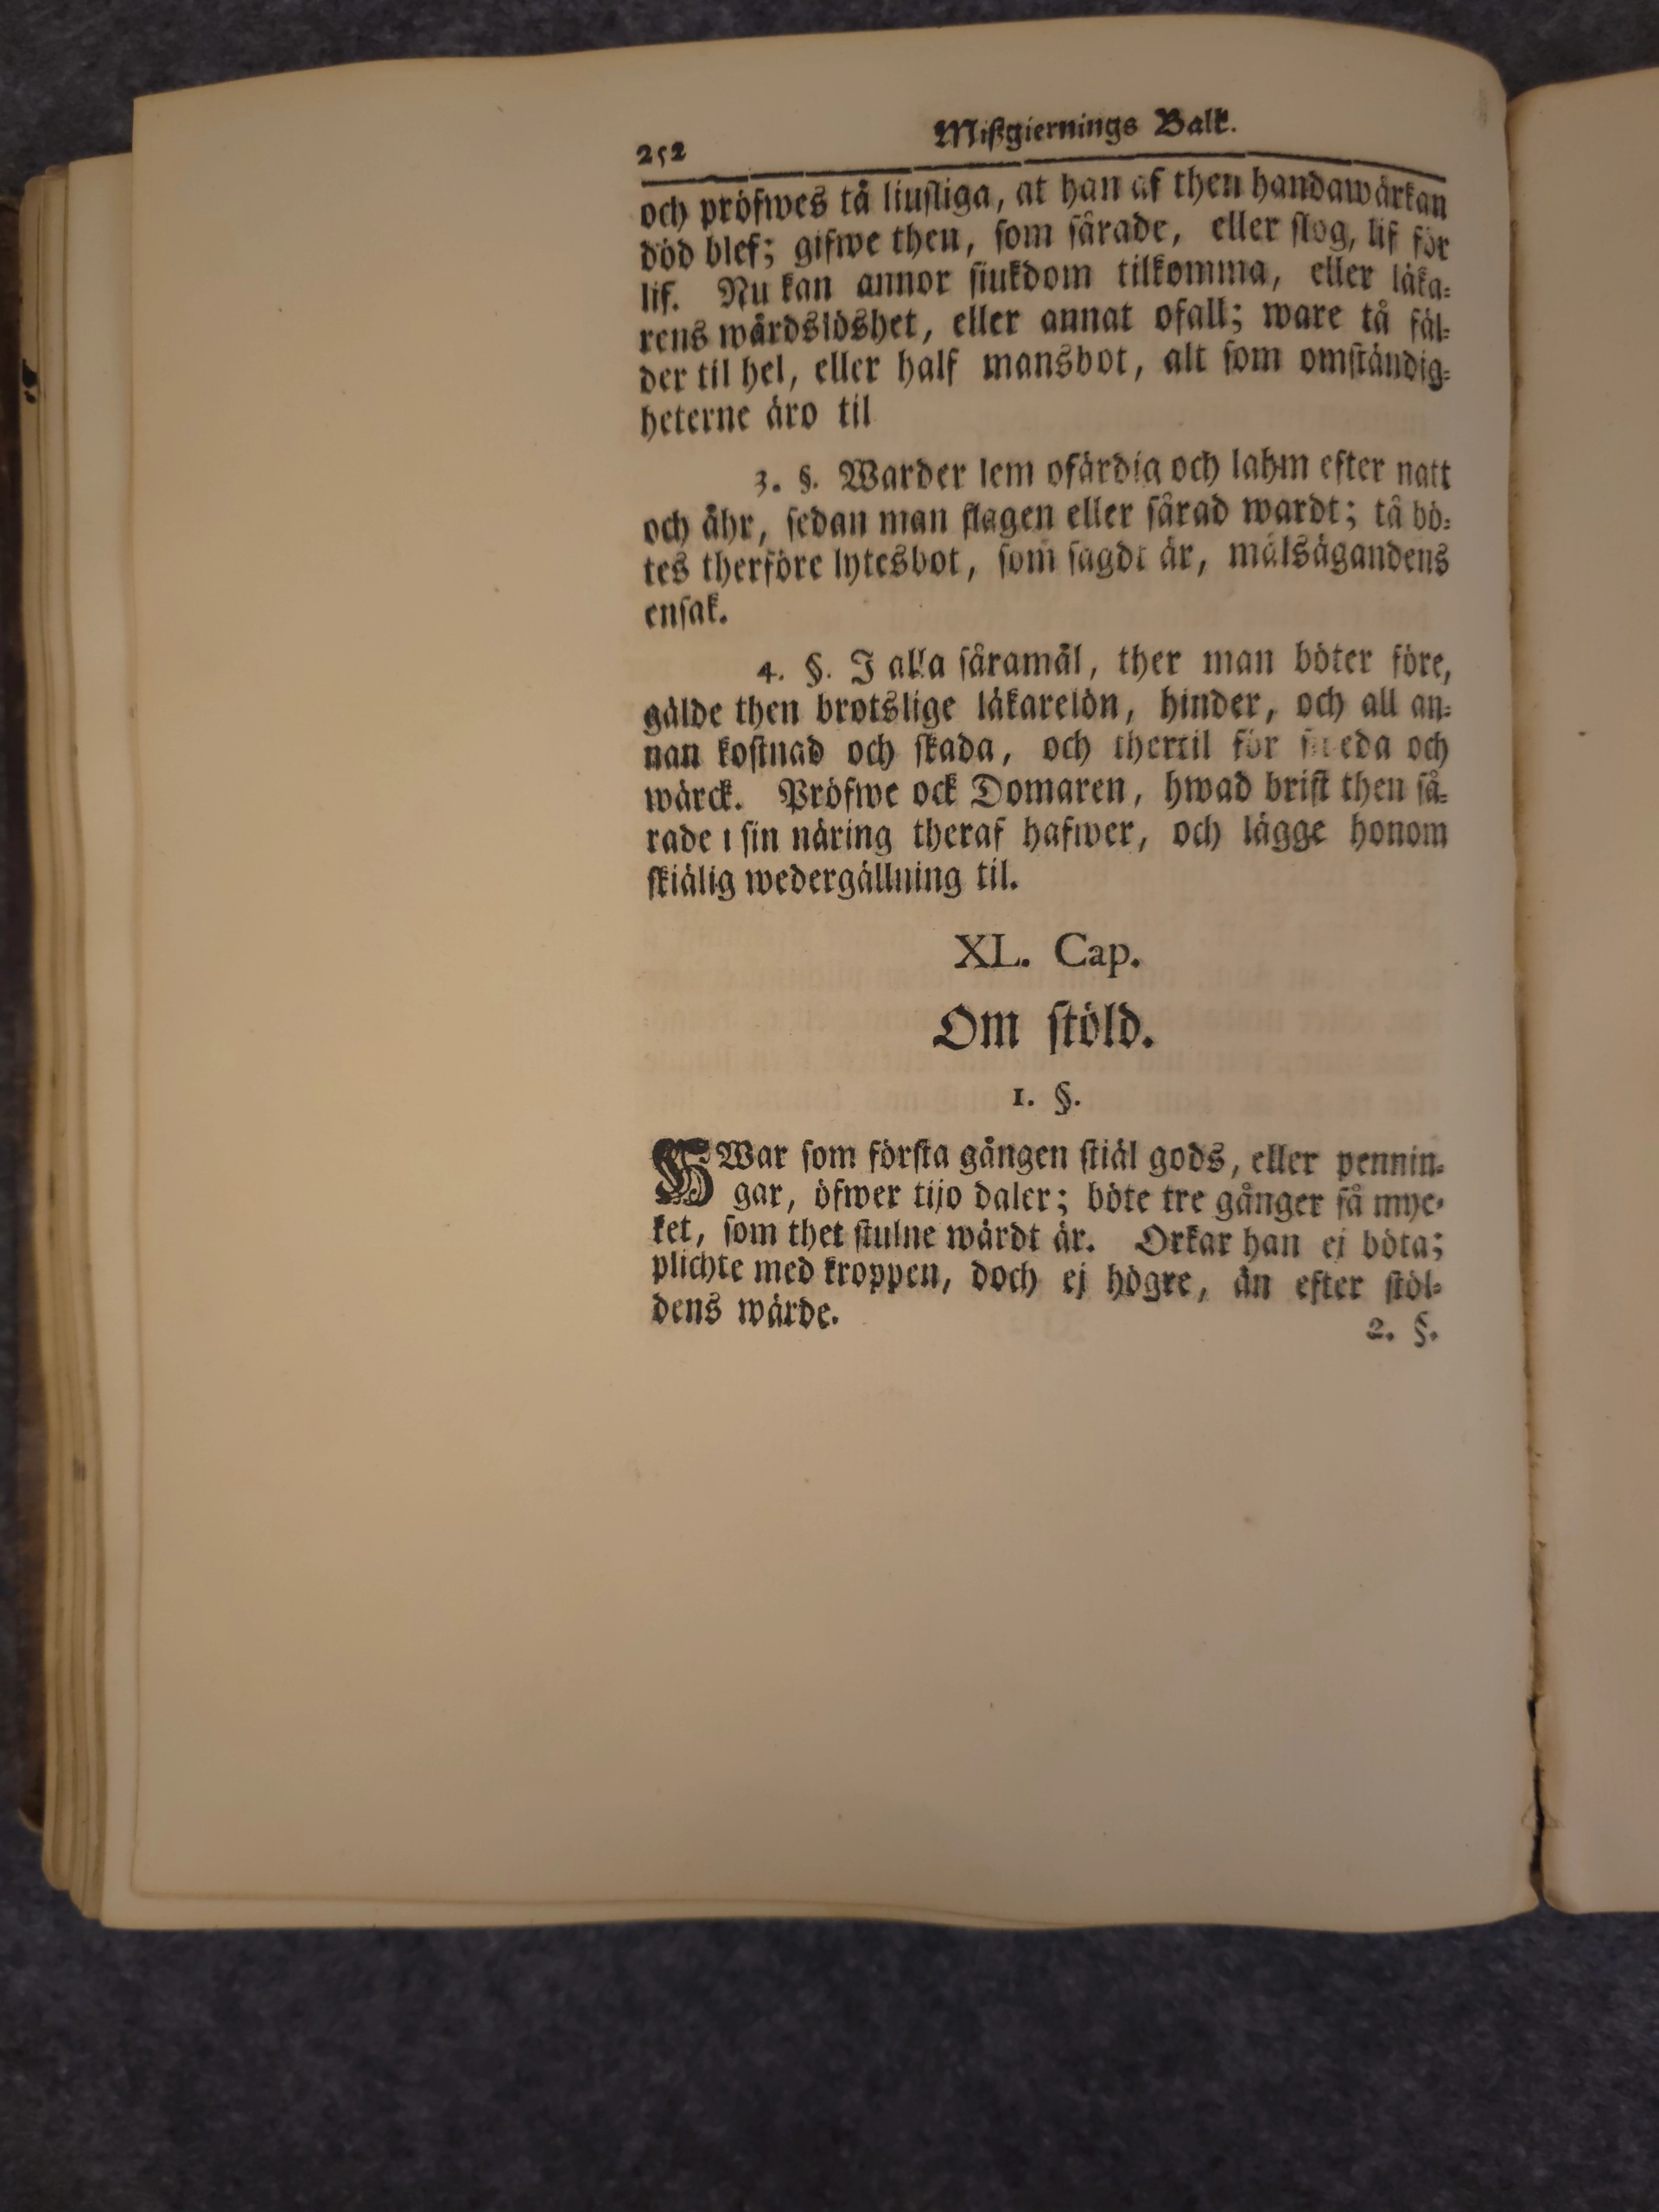
Drag the slider to compare edited vs. raw.
The Final Setup & Post-processing
- Size of workarea
- Width: 90 cm
- Depth: 40 cm
- Height: 102 cm
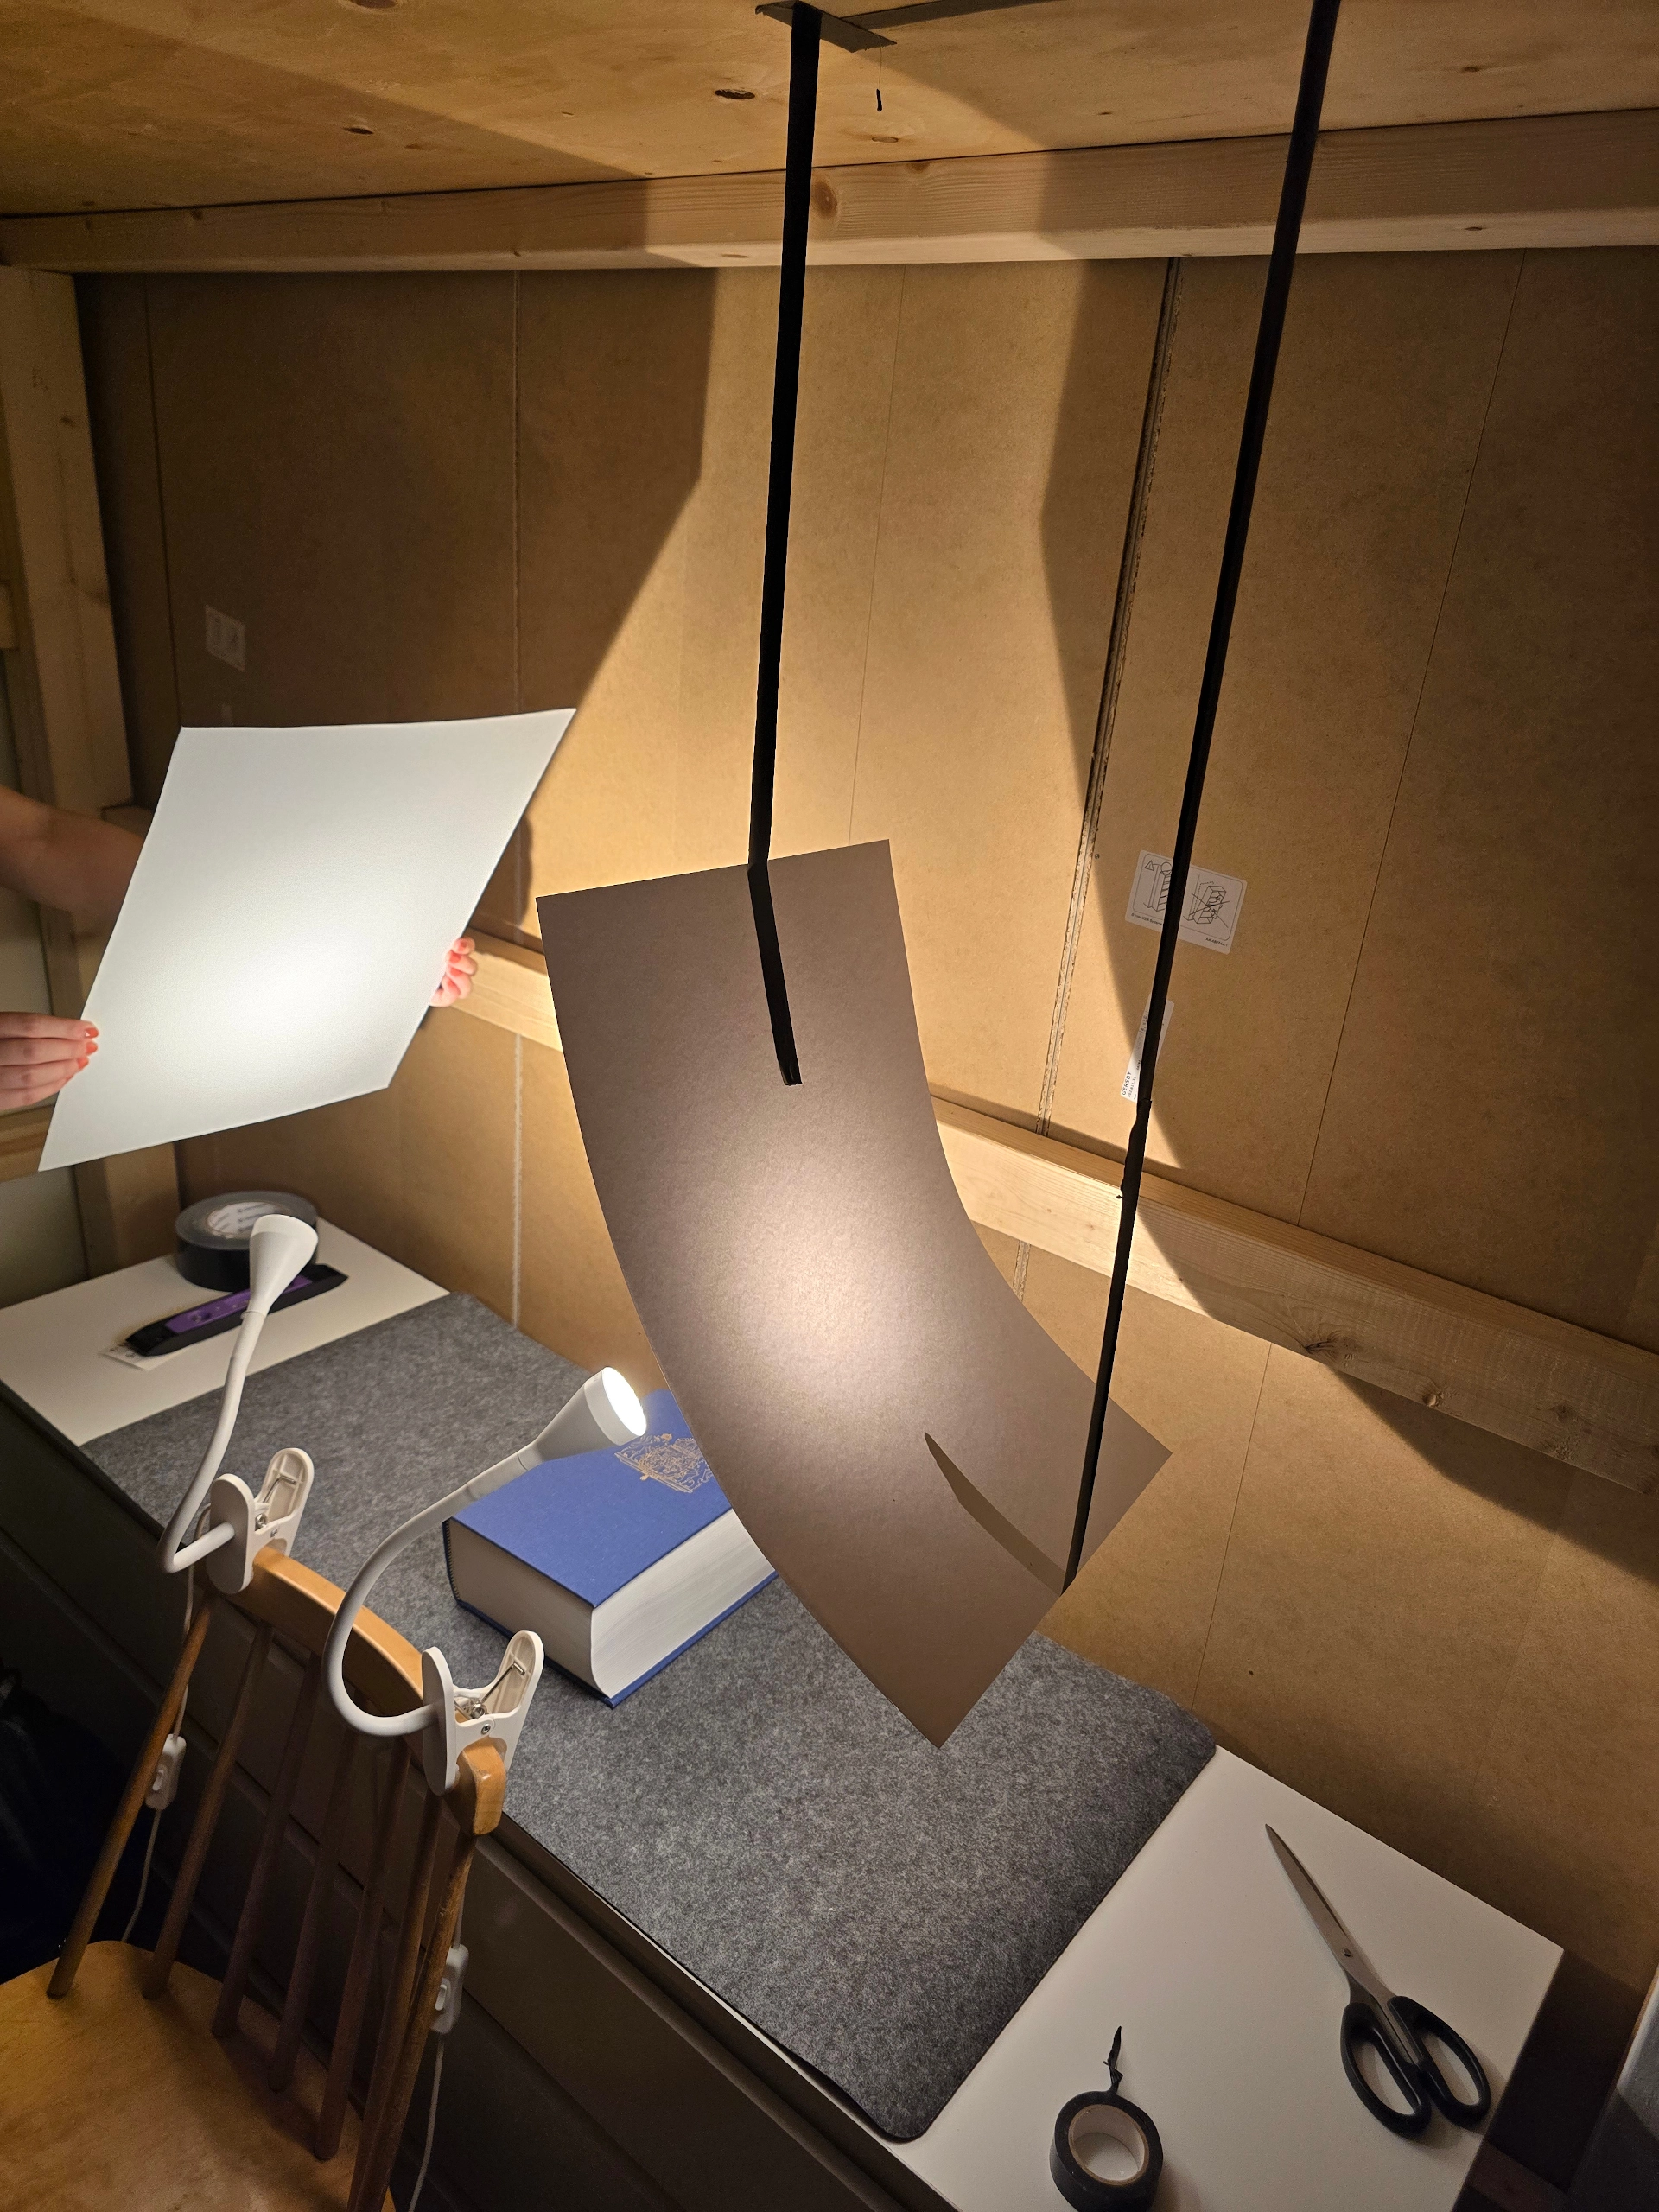
Once we had purchased the paper reflectors, it was time for the final setup, which you can see in the picture on the left. In the end, we actually couldn't use the taped-up papers since they were too difficult to adjust. Instead, I (Erik) sat on the chair with a spirit level balanced on the phone, using the tape on the wall as a distance gauge.
Meanwhile, my (Eriks) girlfriend adjusted the paper arcs from behind my back in order to disperse the lighting as evenly as we could and minimize shadows and glare. Because of this manual approach, there are some inconsistencies with both the lighting and the images, but we tried to minimize these through post-processing.
Post-processing
The post-processing of the pictures was done in GIMP. The images were captured in JPEG format as opposed to RAW because we didn't have physical tools to color correct, such as a Spectrometer, Colorchecker, or gray card (Davis Kronlund, 2021b). Because the built-in color correction of the smartphones was deemed sufficient for this small-scale project, we did not have to manually color correct the images in GIMP.
We did, however, crop the images to only show relevant content and remove excess background. We also brightened or darkened certain areas of the images in order to heighten the viewing experience. This was done by creating a transparent layer with "Soft Light" mode enabled on top of the image. We then used the airbrush tool (with a hardness of 25 and the .2 Block 01 brush in various sizes), setting the foreground color to black to darken glare, or white to increase contrast and improve visibility.
Additionally, we added metadata to the images using GIMP's built-in "edit metadata" feature, adding descriptions, geodata, and technical information such as camera settings and device age. All of the metadata is encoded directly into the image files. However, for the metadata we chose to display on the site, only the tags we actively edited are shown to avoid displaying unused or redundant data.
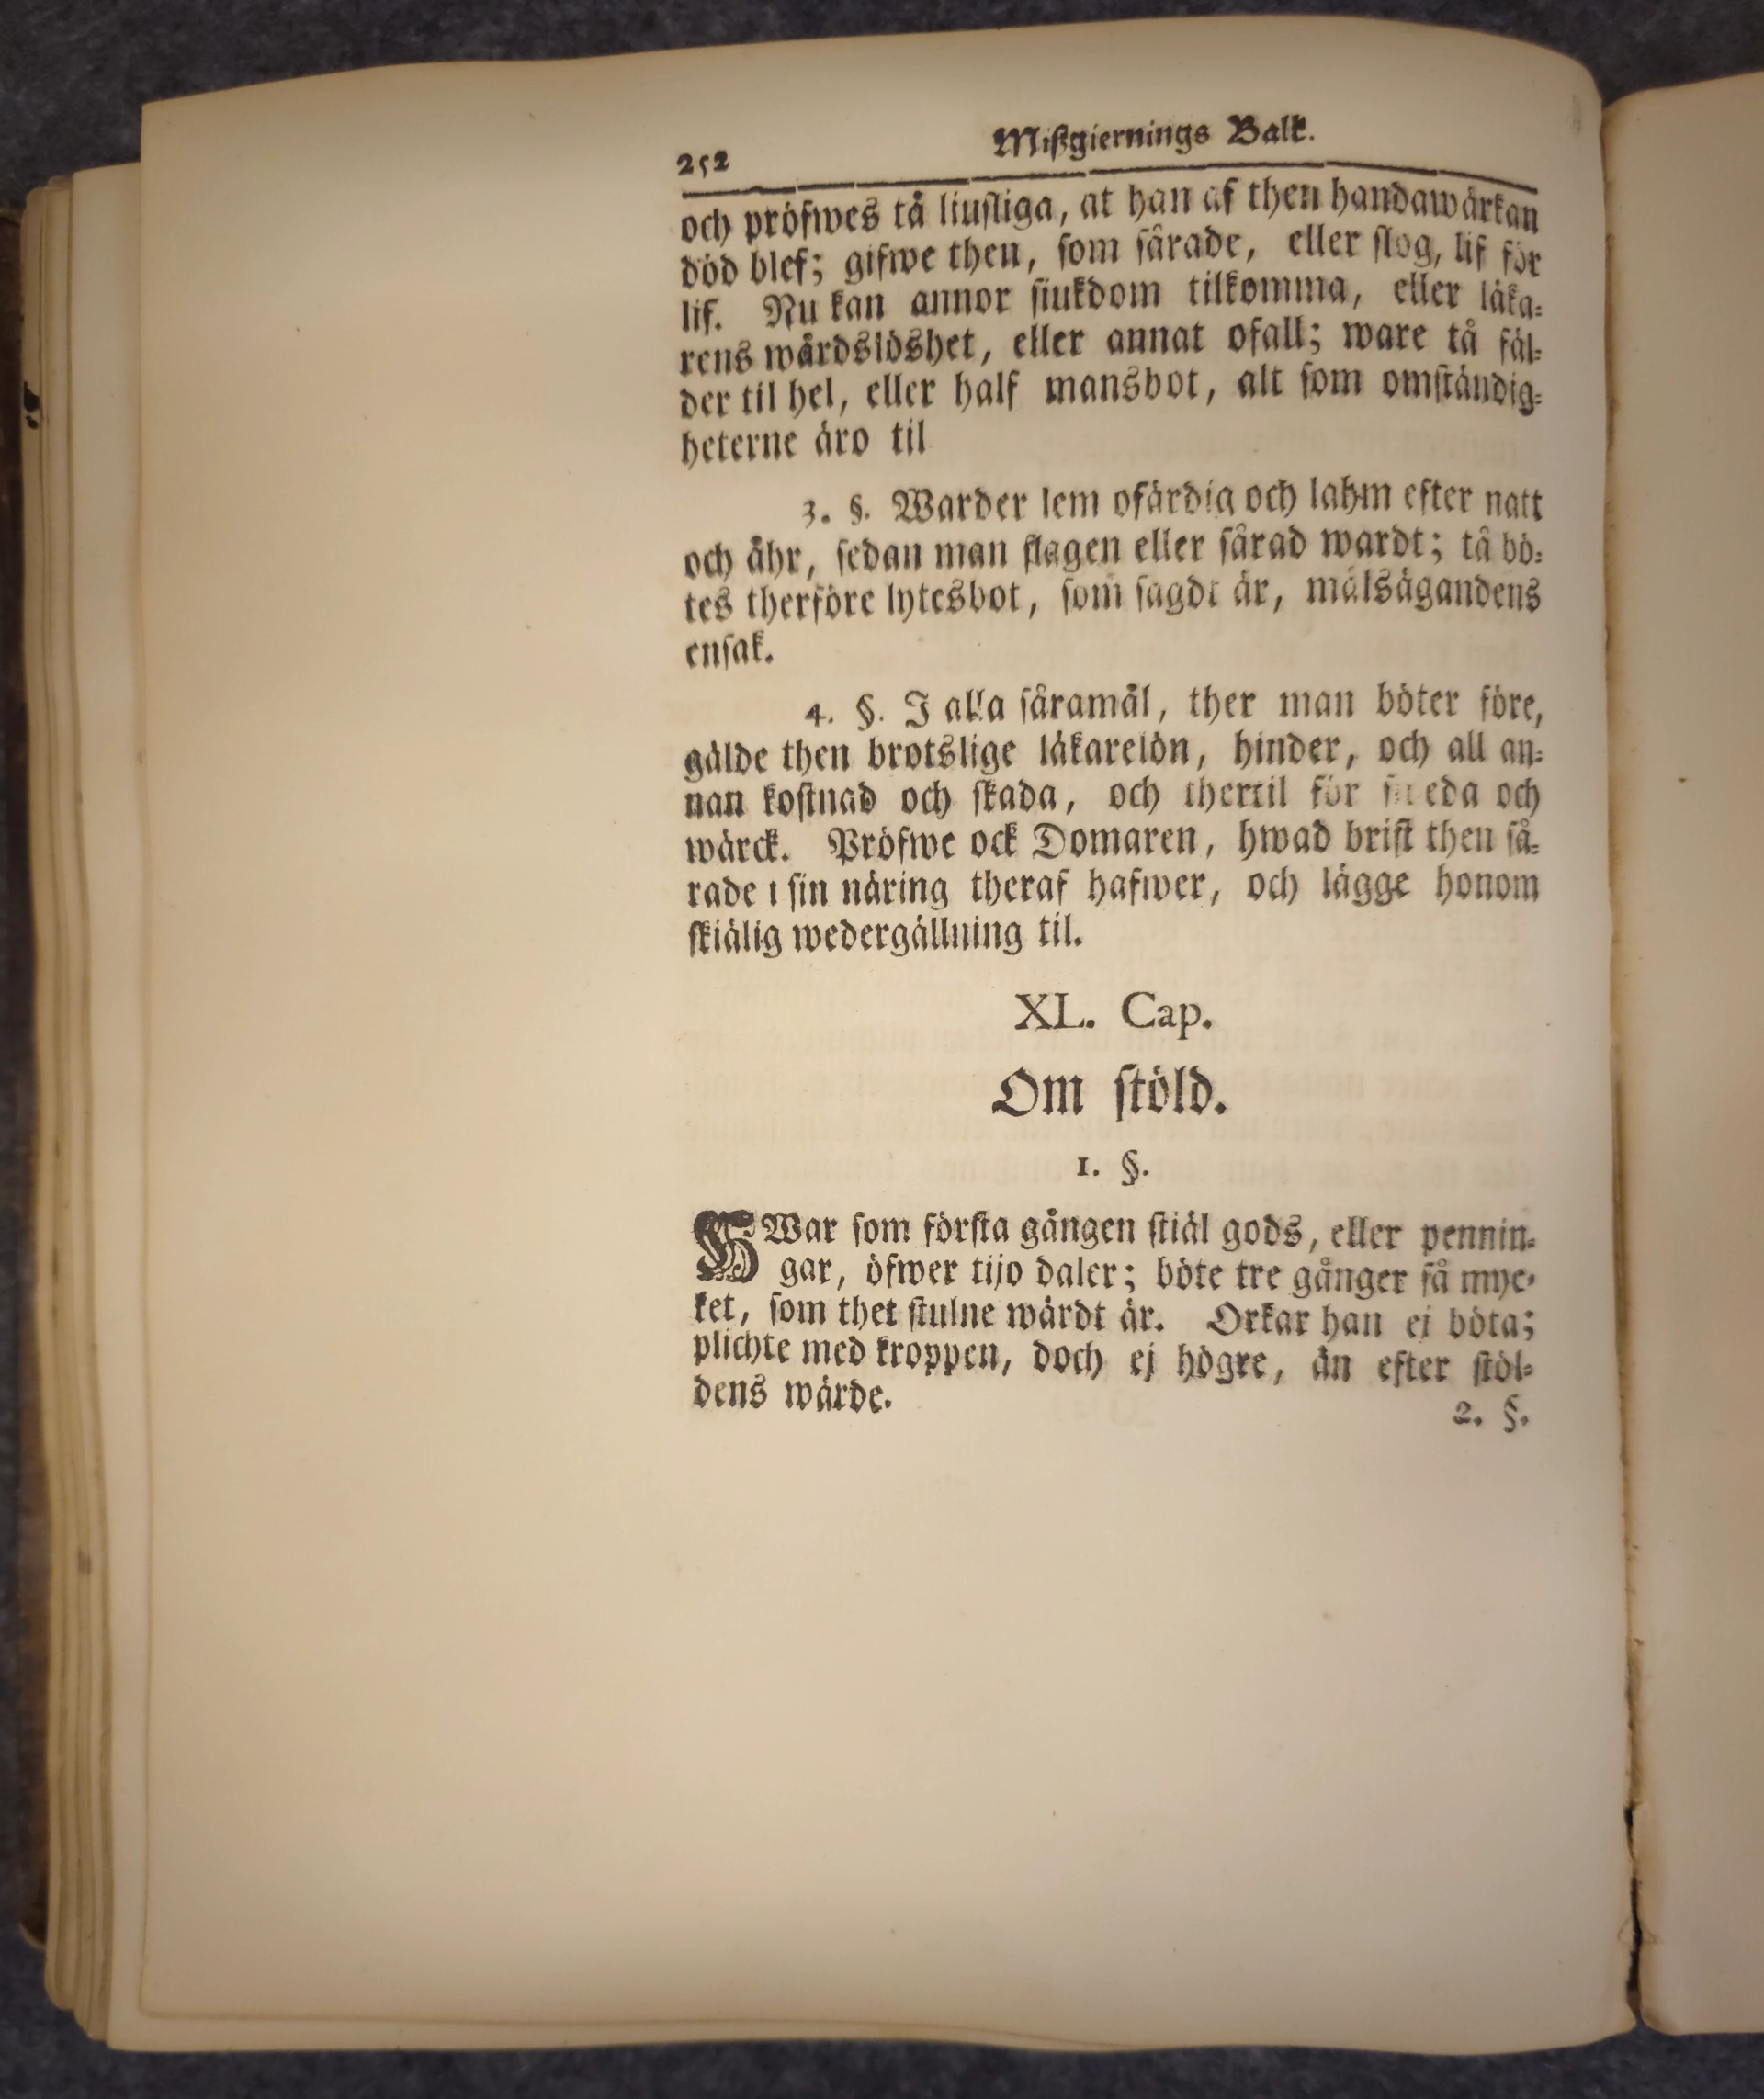
Finally, we scaled and exported the images as .webp. WebP is a highly compressed format and is used on the website to increase performance and load speeds. For the images we deemed to have true archival value, such as the actual pages and the cover of the book, we also exported unscaled versions in the archival standard file format, .tiff (Davis Kronlund, 2021d).
Reflection
The lack of access to a professional studio forced us to think outside the box, which was a fun but sometimes frustrating experience. Looking back, a combination of three specific upgrades would have made the biggest overall improvement to our image capture process: a RAW-capable digital camera, a proper tripod, and dedicated studio lighting.
First, using a digital camera capable of shooting RAW images would have given us full control over the color correction, as described by Davis Kronlund (2021a; 2021d). Second, a proper camera or smartphone stand would have solved our framing inconsistencies. Since our original plan to use the cupboard ceiling as a mount failed, and our final setup didn't allow us to secure the phone to a fixed point, a dedicated tripod would have ensured perfect, identical framing across all pictures.
Finally, having access to proper studio lights that disperse light evenly across the document would have heavily limited the need for post-processing, specifically regarding glare reduction and exposure adjustments.
While having all three of these tools together would have streamlined the workflow and elevated the final quality, we are still satisfied with our results. It goes to show that with a bit of archival theory and a DIY mindset, you can achieve quite effective digitisation outcomes. Furthermore, by ensuring our final outputs adhere to archival standards—such as uncompressed TIFF formats and structured XML metadata, we transformed the physical, localized artefact into a digital dataset. As Hiippala (2021) notes, creating structured, machine-readable collections like this is the critical first step in enabling "distant viewing" and future computational analysis within the digital humanities.